
There’s a saying out there that says every dog gets it’s day and today just might be this tree’s dog day.
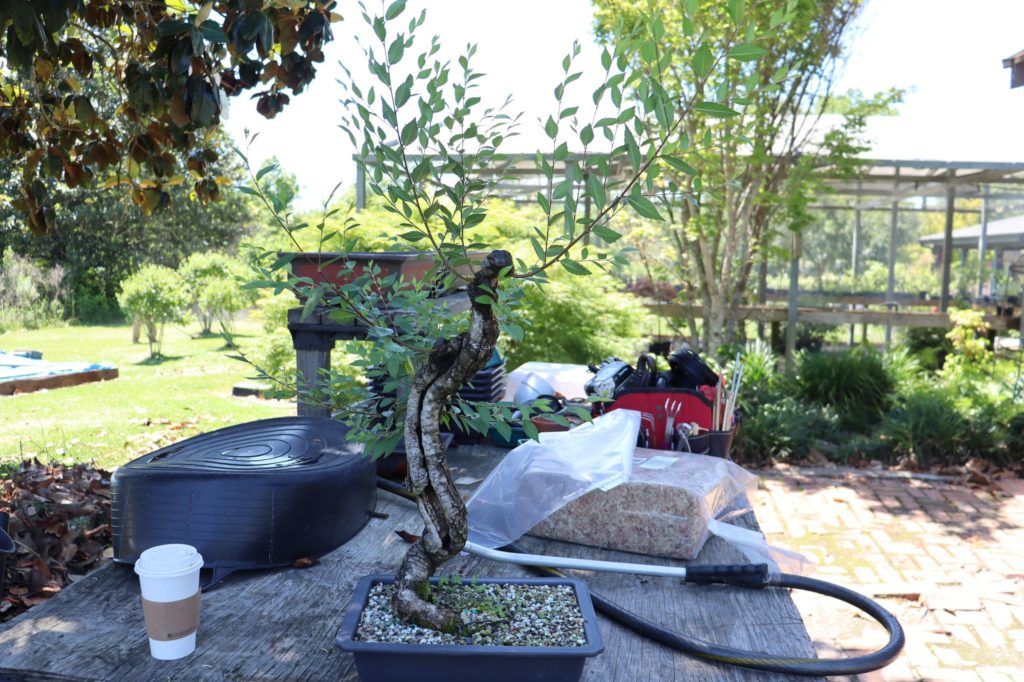
You see, my tree is just plain too ugly to really be made into something desirable. It has a lot of character flaws when it comes to aesthetics. For one, the root flare is nearly nonexistent and awkwardly snakes down into the soil line. It reminds me of one of those tacky concrete sea serpent statuaries. This thing would look great next to one of those cowboy silhouettes leaning against a full size tree.
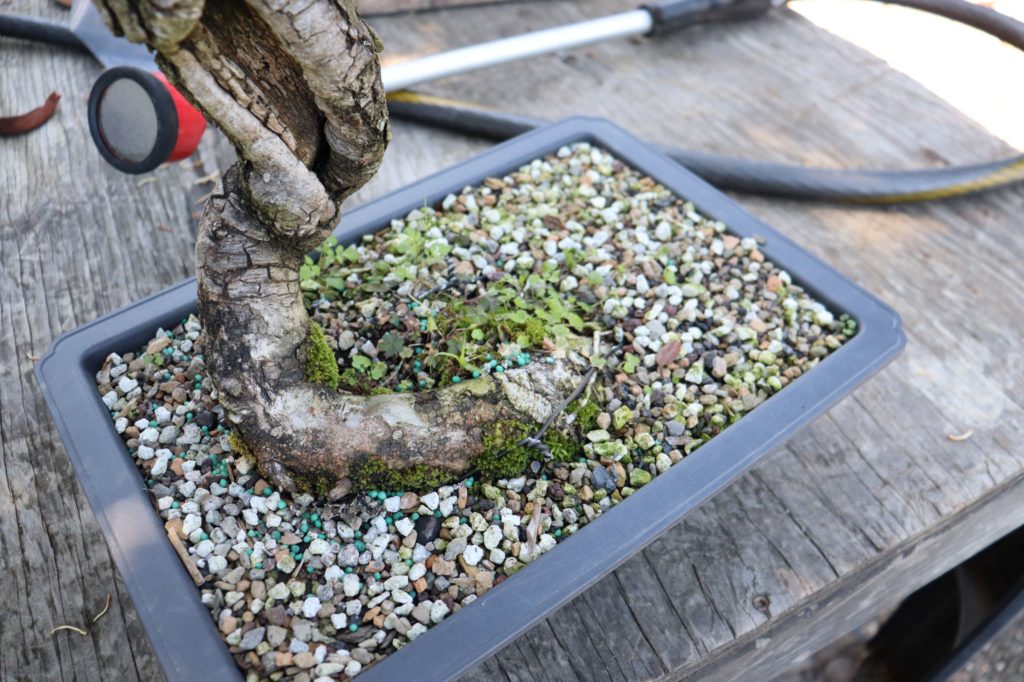
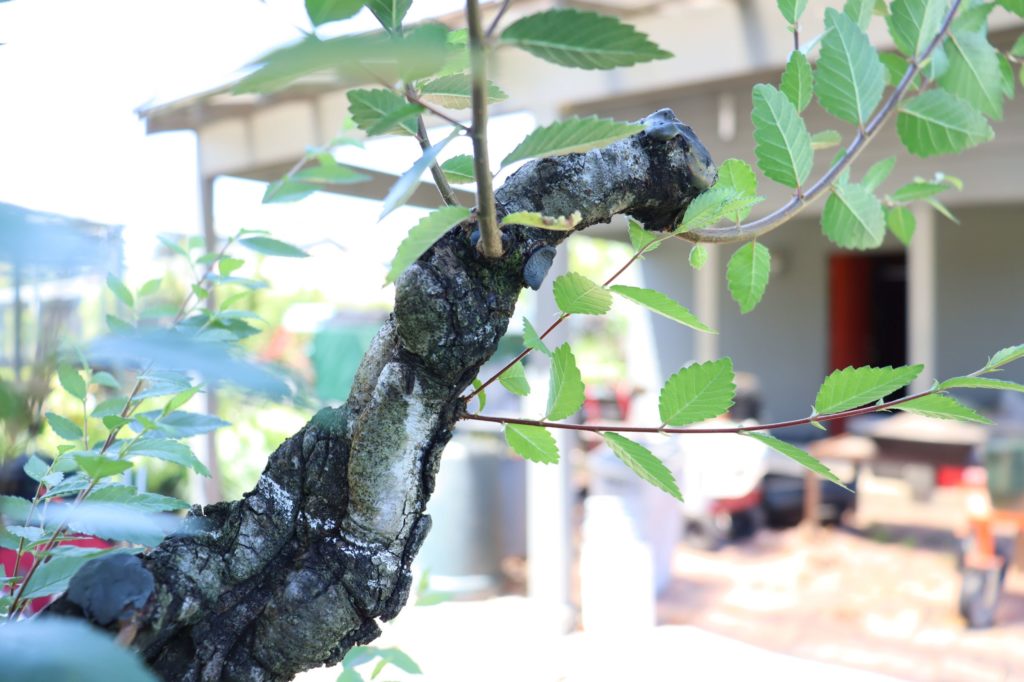
Once you get past the nasty looking surface root you come to this inverse tapering twist in the trunk. This sets us up for absolutely no tachigari whatsoever and is not a believable feature on a deciduous tree. The reason for the strange gnarly trunk is due to a enormous scare that was given to the tree early on in it’s life.
I’m not going to give up on this tree though because it’s special to me believe it or not. Also, I can’t seem to even give this tree away. Not that anyone is running away from it but I have witnessed confused and frightened faces upon viewing it. So here’s how I’m going to fix my ugly tree problem: Air layering. A basic horticulture technique that can help you save an interesting section of a tree you just can’t seem to part ways with. First, a little history on this tree:
This tree was started from a cutting and it is a very old cutting at that. It was taken by Larry Bevere “back in the 90’s or whenever, I can’t remember that kind of stuff”, according to him. Larry is an old bonsai friend of mine that I met right when I got into working with trees. Larry used to take dozens upon dozens of cuttings throughout the year and stick them in a garden bed in his yard. The subject of this post, the ugly one up there, was one of those dozens. That makes this clone roughly 15-20 years old at this point. Another cool fact about this tree is that it’s the first tree I’ve actually pulled out of the ground to make into bonsai. Unfortunately, the top of the tree died and rotted down to the base years before I collected it. When I pulled this puppy out of the ground 10 years ago I was thrilled because it was the weirdest, gnarliest, and most twisted thing I had in my growing collection. If you do the uncertain math, I’m not exactly certain but this tree is almost certainly as old as I am.
In preparation of this procedure I cut back all the branching in the spring to promote new fresh workable shoots. The white chalk line is where the new air layered tree is going to be taken form. I have recently hung out with Dawn Koetting and she got me into making tiny trees. So we’re going to air layer 6″ off the top to make a shohin sized tree. It’s a Chinese elm and the leaf size can be greatly reduced for shohin design. Also, after the air layer is removed I can continue to take sections off of this tree to make multiple little trees. So we’re pretty much dividing it up like a cow going to market.
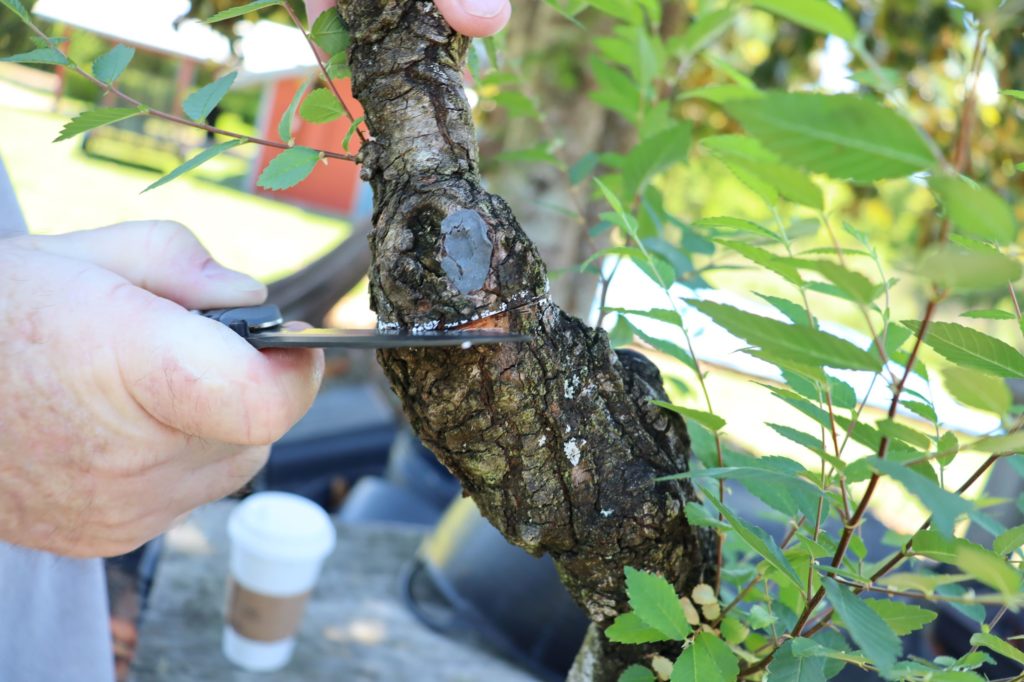
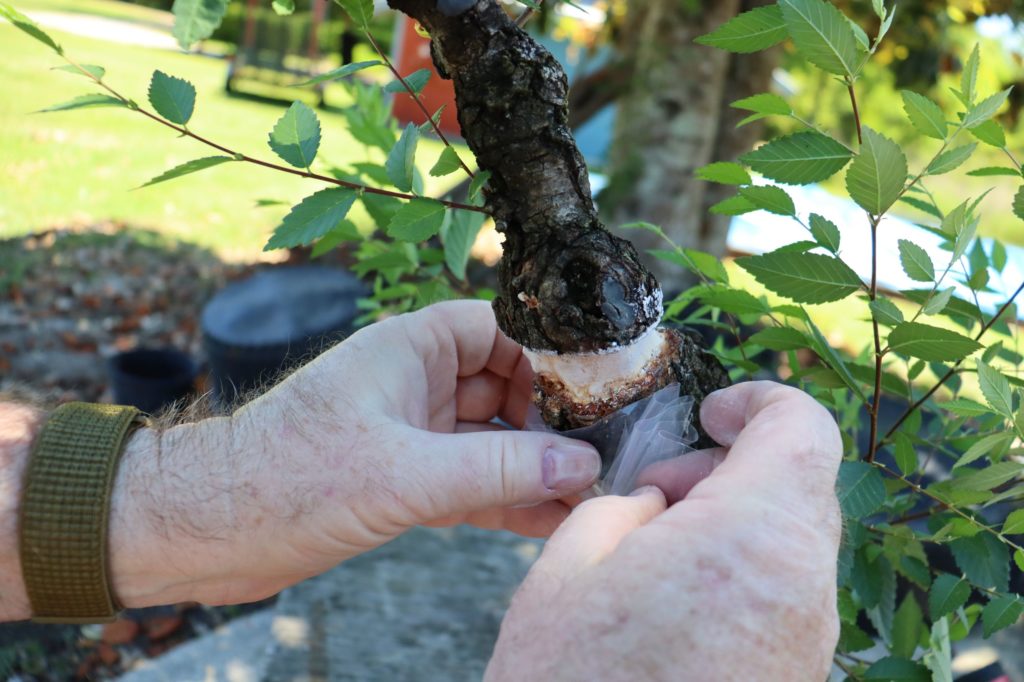
Doug went through the steps of applying the method of air layering this tree. He has a very steady hand for carving wood. First, he cut into the surface of the bark to make a ring all the way around the trunk. This is where the new roots will be grown and it is vital that the line is straight and clean. We want a nice radial root system that will increase the taper from this point up to the apex.
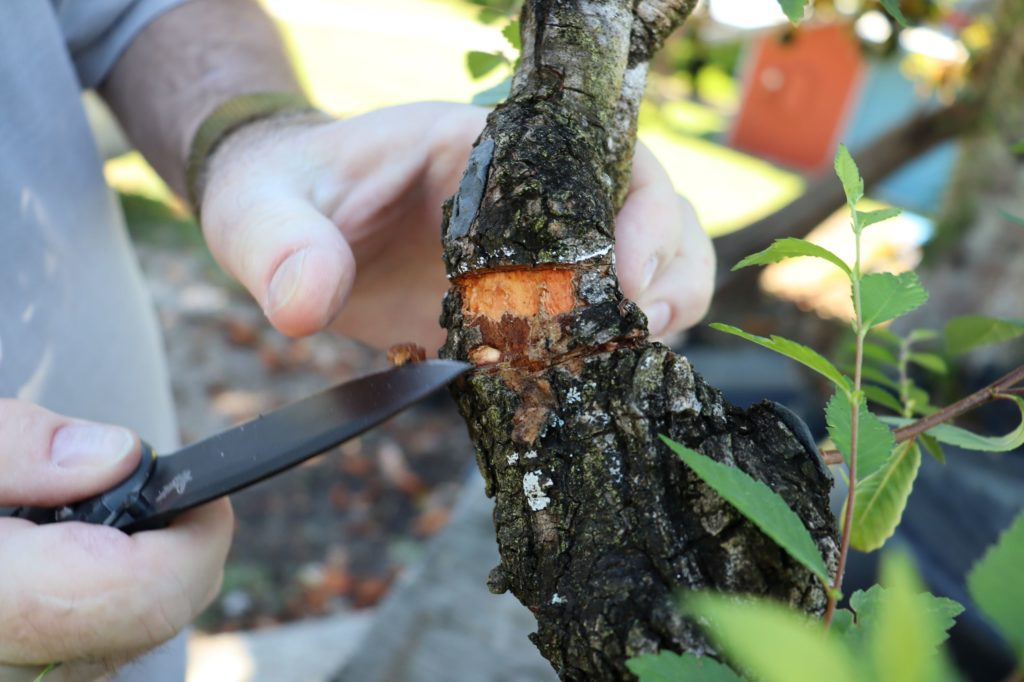
From there Doug cut another ring roughly a half inch down. This will allow a good amount of surface area for new root growth. He begins to peel off the thick plated bark to get down to the cambium layer. He stated that the tree’s surface bark was thick like a pine tree.
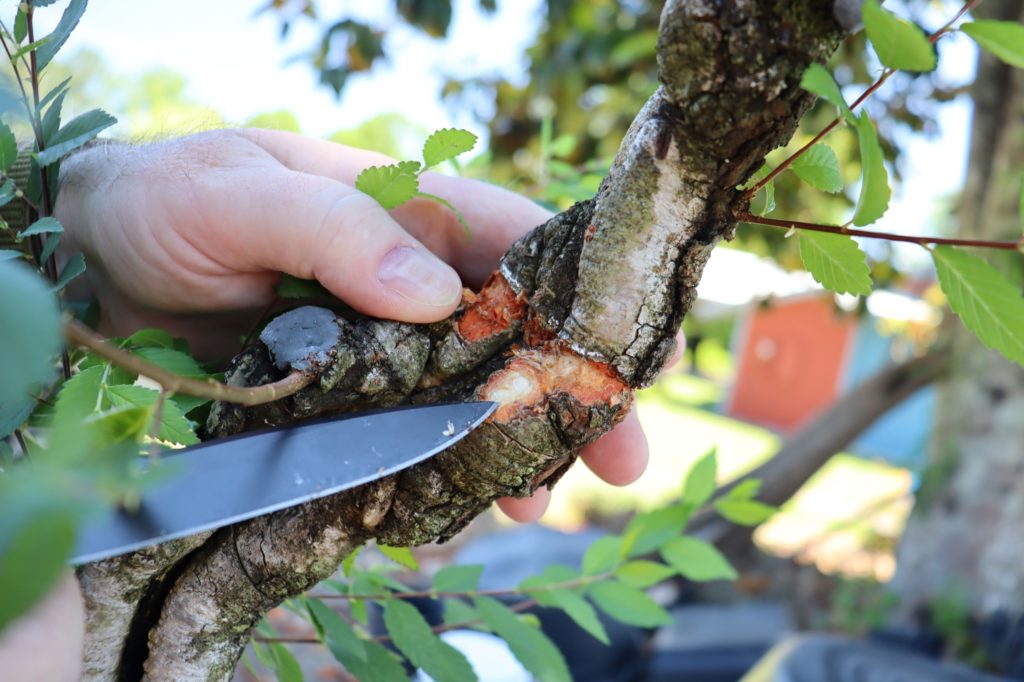
Doug had to strip the bark down a good ways in to hit the cambium layer of this tree. He nearly had to remove a quarter inch of bark! You can see the colors of the different layers nicely in this picture. The whitest part he is pointing the tip of the blade at is what we’re looking for.

If we don’t go all the way around the trunk to make this cut then things won’t go the way we want them to. We have to break the cambium layer and stop sap flow. Remember we’re doing this in May which is the best time for air layering in the Southeast. The first flush of growth has hardened off on most trees and the second wave is going to start soon. So we’re catching that next wave to force the tree to produce new roots at the cut site in response. If any of the cambium is left intact the tree will channel sap flow into the thinnest line and begin to callus over. Thus we will fail and we would have to wait until next year to try again. Air layers can be done most times of the year, it’s just that mid-Spring is the best time.
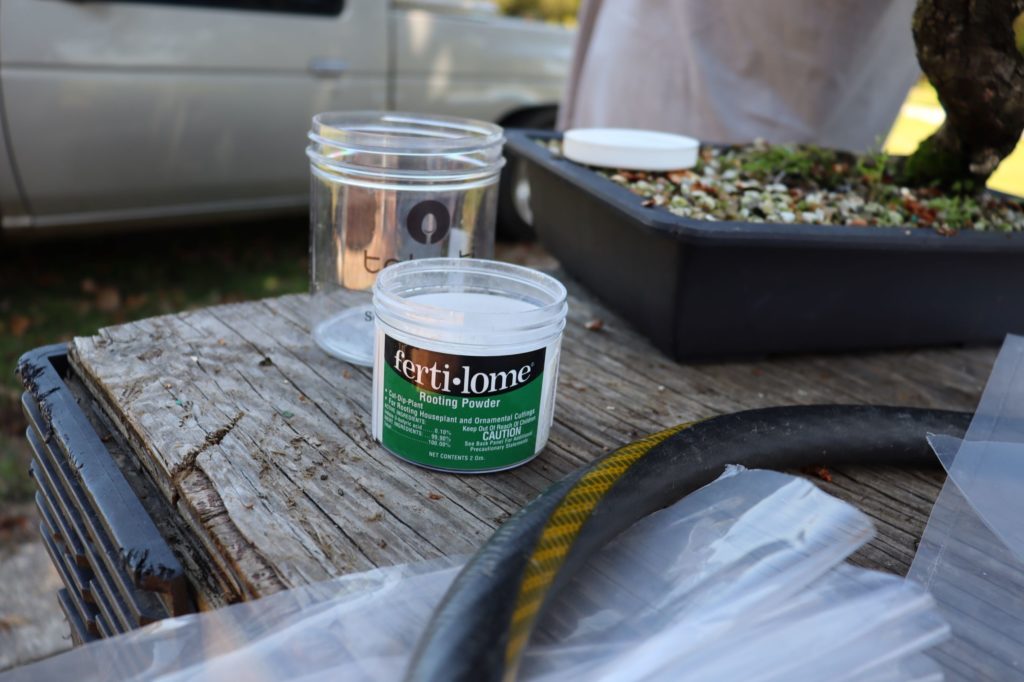
From here a commonly available rooting hormone is applied the entire cut site.
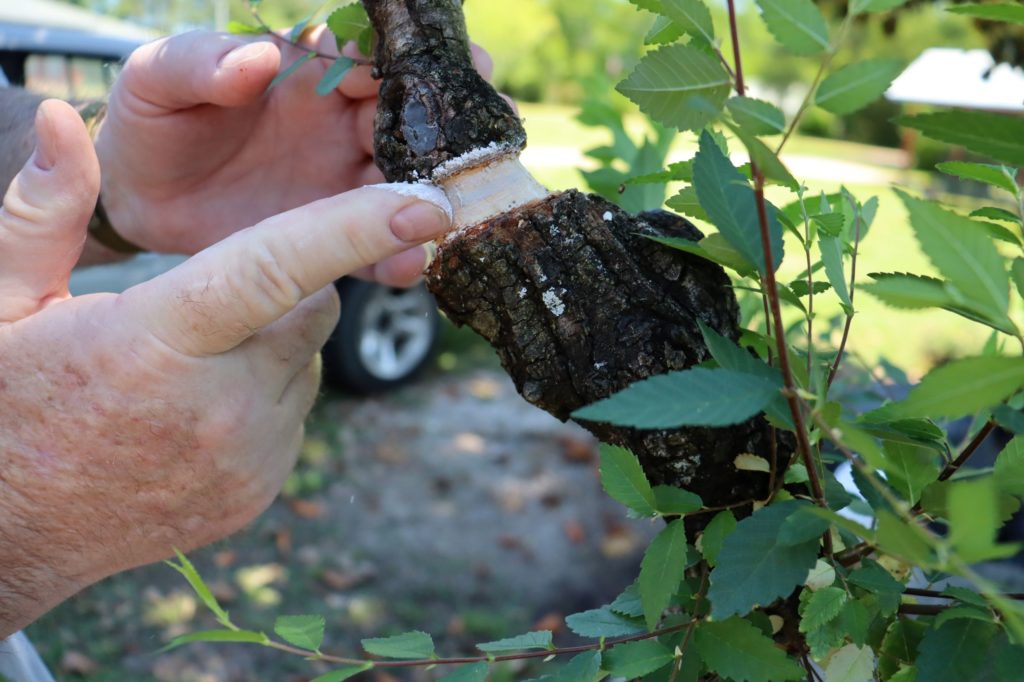
Applying rooting hormone isn’t absolutely necessary but we want to increase our chances here. Elms respond really well to this type of work. Maples, hornbeams, and other deciduous trees are great candidates as well. This same thing can be done to a full size garden tree as well. If you find a branch on a tree you think would make a cool little tree then give it shot. Actually you should give it quite a few shots so you can account for some air layers not beginning successful. Best advice I can give when it comes to bonsai, and I always do, is that you should always have multiples. You should have so many mad experiments happening at once to the point where it is almost unmanageable. To the point where you have to reconsider why you’re even doing this.
You don’t have to but that’s how I work most days.
Here’s a nifty trick when applying the plastic to hold the sphagnum moss in place: Pelt the plastic so that it tapers up from where it’s tied on. This gives you kind of a cradle for the ball of moss to rest in and it will be more expansive. Tie down with wire or anything that can be easily removed later.
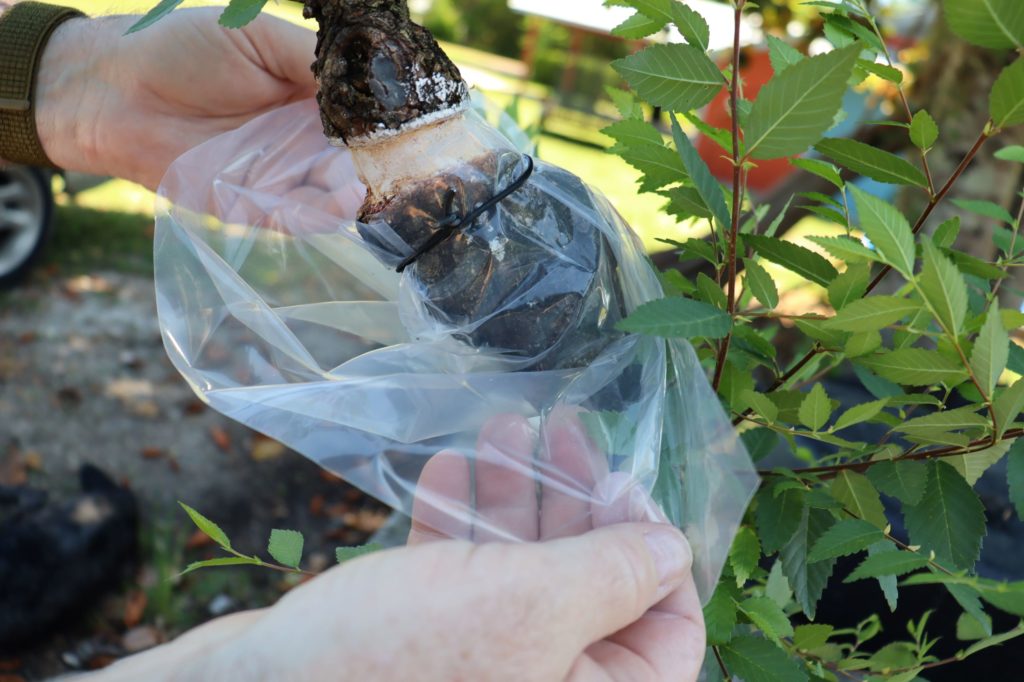
We’re using clear plastic so we can see the moss. It makes a big difference when you can see whats happening inside. You can see the moisture in the moss and possibly roots as they emerge. Some recommend that you use tin foil to help absorb heat and reflect light from the fresh roots. If you’re growing your trees in a shade house it’s not really necessary to apply tin foil.
Pre-soaking the sphagnum moss is important. Sphagnum has incredible water retention abilities and lots of air space for new roots to grow into. Make sure to use long stranded, uncut sphagnum moss.
Also important is that you have to make sure that the sphagnum is making contact with the entire cut site. If anything is allowed to dry out, there will be major issues.
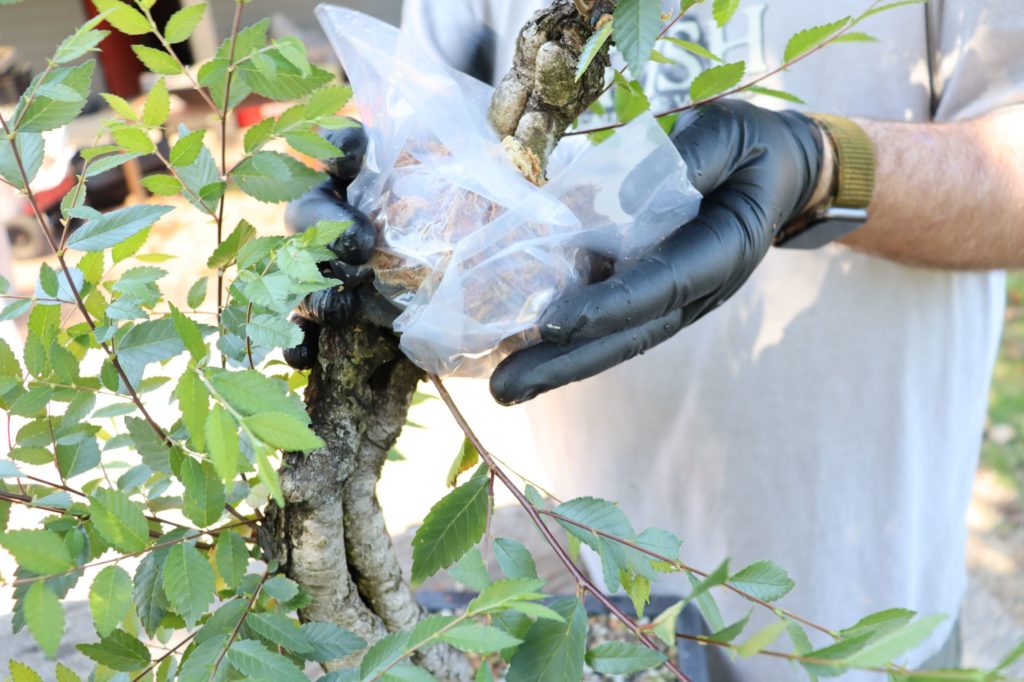
Pull the plastic up and over the sphagnum and make sure there isn’t any air gaps in the fold over.
The top can be tied up just like the bottom. Make sure it’s nice and snug. You want to be able to check on the air layer periodically and apply more moisture when needed. Notice I say moisture because we don’t want standing water in there. To much moisture will literally drown the new roots and cause them to rot.
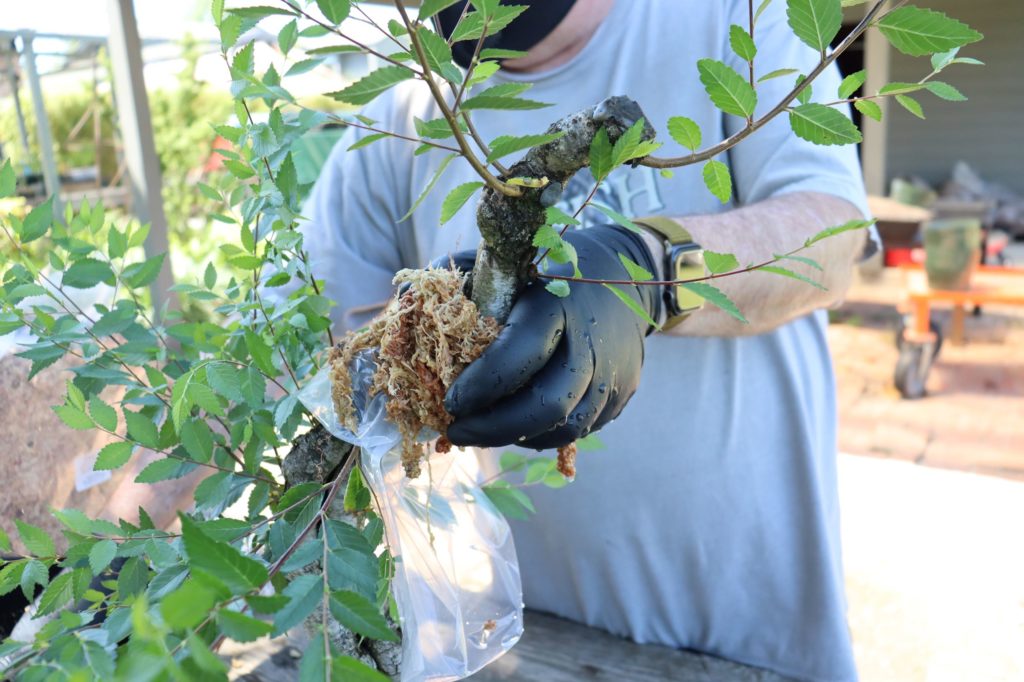
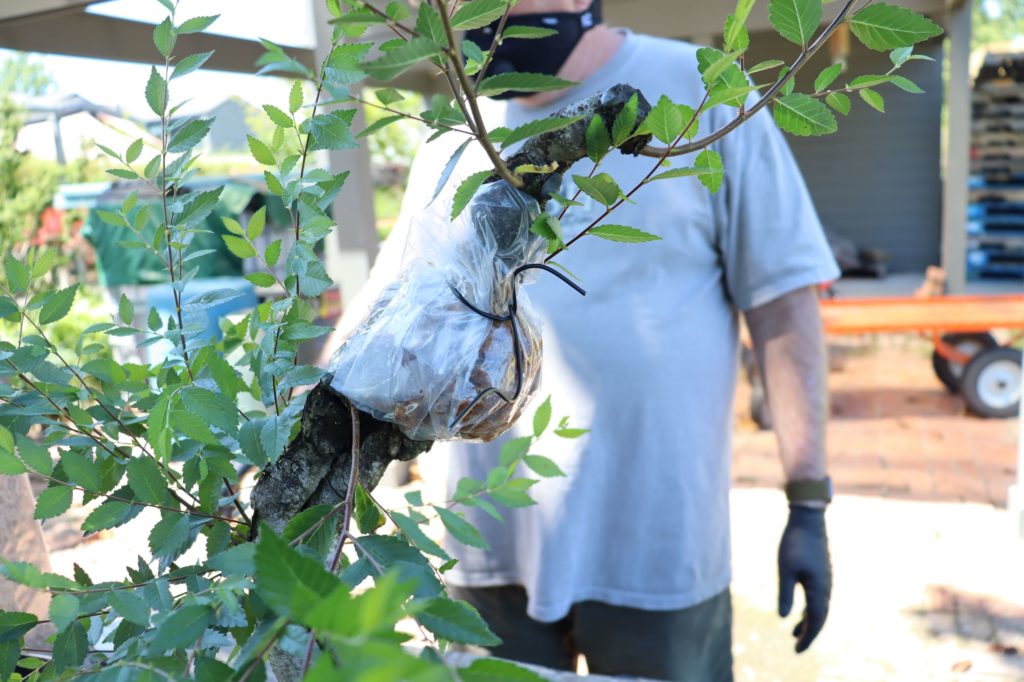
This is just the beginning. We’re going to wait two full months which will put us in July to check the air layer. Elms can produce roots at an alarming rate and I’m hoping for the best. The more roots the better of course. There will be a follow up blog post to show how to cut the air layer off and plant the new little elm up.
Cheers,
Evan